Free Tutorial | Toddler Nap Mat
Design and tutorial by Jen Robinson.
This nap mat is toddler-tested and approved!
Follow Jen's step-by-step instructions to make a toddler-sized pillow form, pillowcase, and 23” x 42” nap mat that any child will be proud to call their own!
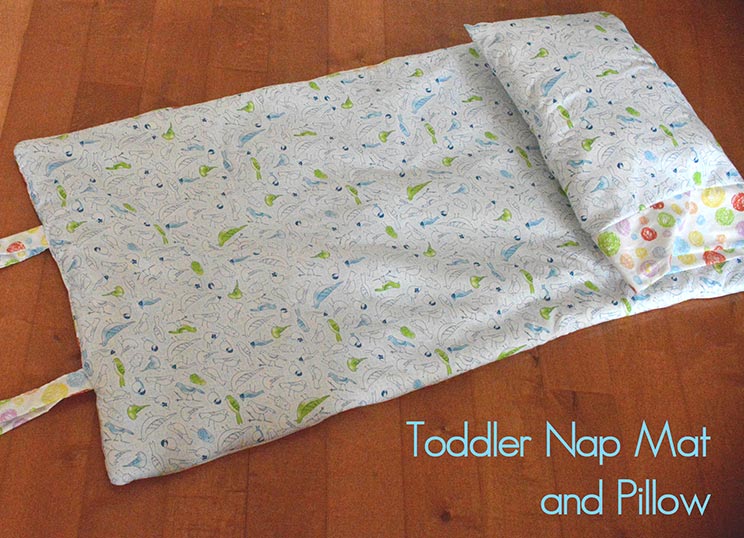
All seams are machine-sewn; you can also hand-stitch if you prefer.
Supplies:
- 1-1/2 yards Fabric A for straps, bottom of mat, and pillowcase cuff (Jen used Sweet Tweets Birds Nest | Multi). Refer to diagram Fabric A for cutting layout.
- 1-1/2 yards Fabric B for top of mat and main body of pillowcase (Jen used Sweet Tweets Doodle | Blue). Refer to diagram Fabric B for cutting layout.
- 1/2 yard Fabric C for pillow form.
- 2 yards of 96" wide quilt batting - will make 6 layers (Jen used Pellon Eco-Cotton Blend batting)
- 1/2 - 3/4 lb fiberfill, depending on pillow firmness preference (Jen used Hobbs 100% Organic Cotton Fiberfill)
- Heavy-gauge sewing machine needle (90/14, 70/10, 80/12 all work) to assemble the mat
- Coordinating thread
Cutting Diagrams:


From Fabric C cut a rectangle measuring 17.5” x 24.5”.
Fold the fabric in half lengthwise and pin on all sides, right sides together, leaving a 2-inch gap on one side.

Sew a ¼” seam allowance on all pinned sides, backstitching before and after the 2” gap. Turn right sides out.
Working with a handful at a time, stuff up to 0.75 lb of fiberfill into the pillow, packing it down as you go to keep the distribution even. Leave enough slack at the opening to sew the gap.
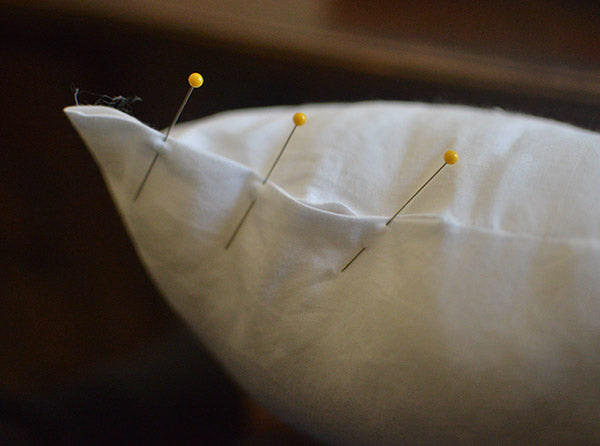
Pin gap closed, turning raw edges under.

Stitch closed with a 1/8” seam allowance.
2. ASSEMBLE THE PILLOWCASE

Gather the pillowcase cuff (Fabric A - 24.5” x 8.5”) and the main body of the pillowcase (Fabric B - 24.5” x 17.5”).

Fold cuff fabric lengthwise, right sides together. Pin the pillowcase cuff on the side opposite the fold. Sew with a ¼” seam allowance.
Fold cuff in half along the short edge, wrong sides together. Press fold flat with an iron.
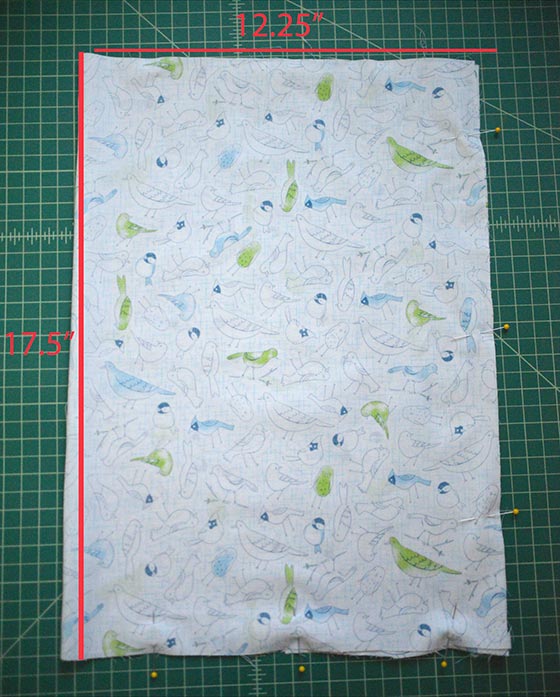
Fold main body of pillowcase fabric lengthwise, right sides together. Pin the main body of the pillowcase along two edges. Sew with a ¼” seam allowance. Turn right sides out.
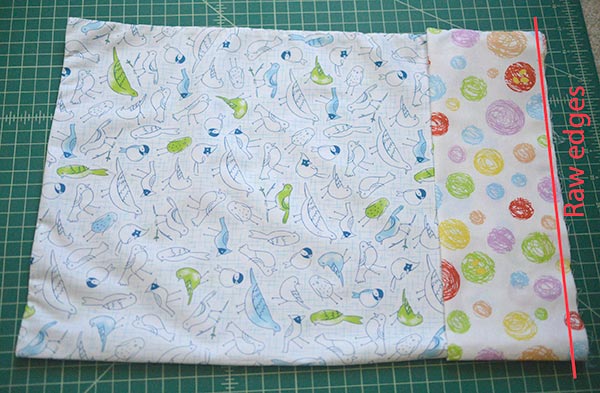
Insert the main body (right side out) into the cuff, matching raw edges. Now the cuff is on the outside and wraps around the opening of the main body. Line up the raw edges and seams of the cuff and the main body. Pin the main body to the cuff along the raw edges. Sew ¼” seam allowance along the raw edges - you'll be sewing in a loop; don't sew all edges together in a thick layer or you won't be able to open the pillowcase! For a more finished seam, zigzag stitch or serge along the edges.
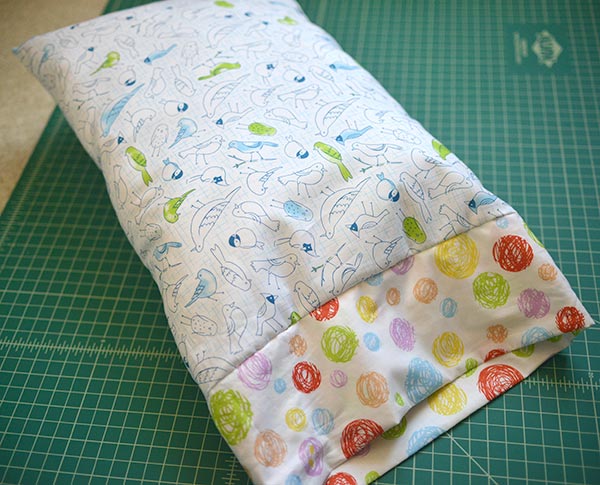
Flip the cuff out and press the entire pillowcase with an iron.
3. ASSEMBLE THE STRAPS
Gather the strap fabric strips (Fabric A - 43”x6”). Work with one strap at a time, follow these steps:
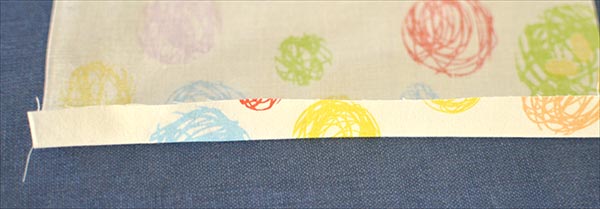
Press the short edges down ¼”. Then press the long edges down ¼” (not pictured).
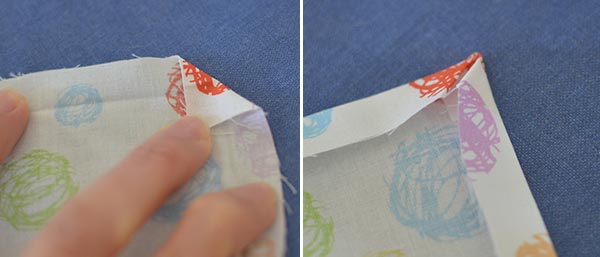
Open the pressed edges and press each corner down so the tip meets the creases. Snip the corners.
Fold the edges back in and press. You now have simple mitered corners.

Fold and press along the long edges so they meet in the middle.

Fold in half along the long edge. Pin along the 3 edges and sew 1/8” seam allowance.
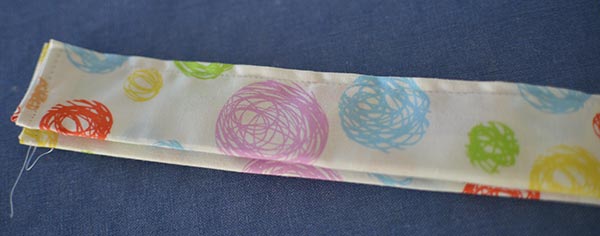
Fold in half along the short edge and set aside. Repeat process for second strap.
4. ASSEMBLE THE MAT
Gather the batting, straps and the mat top and bottom fabrics (1 each of Fabric A and Fabric B - 43” x 24”).
Layering Diagram:

Layer the 6 pieces of batting, one on top of another, to achieve 3/4" - 1" thickness.
On top of the batting, place the mat top fabric (Fabric B), right side up.
Then place the straps with the folds facing out and overlapping the top edge by 1". Each strap should be 7" from the edge of the mat.
Lastly, place the mat bottom fabric (Fabric A), wrong side up.
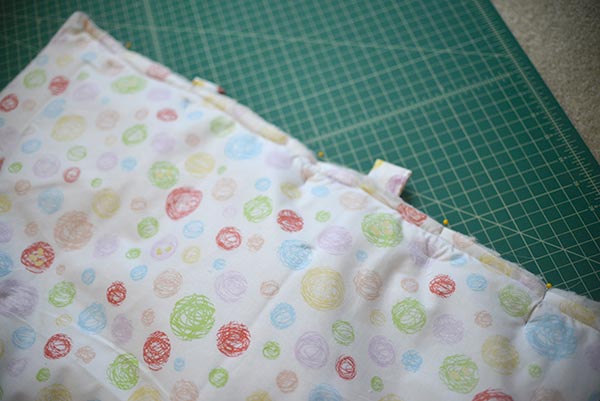
Pin the straps to the fabric, then pin through all layers around the edges of the mat. You will sew along all edges, through all layers, except the space between the straps.
Using your heavy-gauge needle, sew ½” seam allowance along the edges, avoiding the gap between the straps. Stitch backwards and forwards 3 times across the straps to make sure they are secure.

Clip the corners ¼” above the seams.
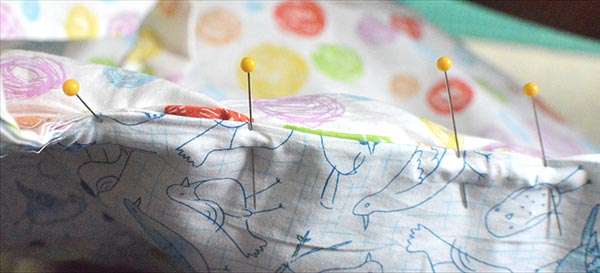
Very carefully, turn the mat inside out. Fold the raw edges inward ½” and pin the gap closed. Sew with ¼” seam allowance or hand-stitch closed.
Secure the batting: Mark 5-6 evenly spaced points on the mat. Machine- or hand-stitch 1-2 stitches at each point.

Storing and Cleaning:
Fold up accordion-style or roll, and then tie with the straps. Machine wash in cold water, dry on low heat setting.
Enjoy!
About Jen Robinson
Hi! I'm Jen, and I have been cooking and crafting for over 10 years. My husband and toddler son keep me on my toes every day, most moments of which I adore. I recently left a corporate life to explore my passions for cooking, sewing, local business, community, and mindful living. Every day and every person I meet brings new lessons that are helping to shape my perspective on life and the things that I make.
Visit Jen's Etsy Shop
What are you creating with our fabric?
Drop us an email, fill us in. We love to keep up with all the creative ways our customers sew.


